


From Drips to Dry: Felting Your Shed Roof to Stay Weatherproof!
Protect Your Shed from the Elements with Proper Felting
Your shed puts up with a lot, wind, rain, the odd hailstorm, so giving it a bit of protection goes a long way. Felting the roof is one of those jobs that’s surprisingly straightforward but makes a big difference. It keeps the water out, helps your shed last longer, and gives you peace of mind when the weather turns.
What You’ll Need
- Felt roofing material: Choose a type that suits your shed and the weather it’ll face. All of our sheds come with 20kg waterproof roofing felt so you are in good hands!
- Staple gun or hammer and nails: To fix the felt securely in place.
- Roofing adhesive: Optional, but handy for extra hold.
- Measuring tape: For accurate sizing.
- Utility knife or scissors: To cut the felt neatly.
- Ladder: Make sure it’s sturdy and safe.
- Roofing battens: Optional, but helpful for extra support. All of our sheds are supplied with everything you need!
- Protective gloves: To keep your hands safe.
- Spirit level: To check your roof is nice and even.
Safety First
Before you climb up, take a moment to get set up properly. Place your ladder on firm, level ground and, if possible, have someone nearby to lend a hand. Gloves and safety glasses are a good shout, and if your shed roof is high or steep, a harness might be worth considering. Take your time, there’s no need to rush.
Getting Your Shed Ready
- Clear the roof: Brush off any debris, moss, or old felt.
- Check for damage: Look out for rot, cracks, or holes and fix them first.
- Dry and clean: Only apply felt to a dry surface for the best bond.
- Measure and cut: Cut your felt to size, leaving a bit of overlap for good coverage.
How to Felt a Shed Roof: Step-by-Step
- Lay the first roll: Start at the bottom edge, with a slight overhang.
- Secure it: Use nails or staples every 6 inches or so.
- Overlap the next roll: By 2-3 inches, keeping it smooth and aligned.
- Seal the edges: Trim any excess and use adhesive or nails to finish the job.
Staple Guns vs Hammer and Nails
- Pros: Quick, easy to use, and less likely to tear the felt.
- Cons: Might not hold as well in strong winds, and you’ll need one if you don’t already have it.
Hammer and Nails
- Pros: Strong, secure hold and cost-effective if you’ve got the tools already.
- Cons: Slower and needs a bit more care to avoid damaging the felt.
Different Roof Types and What to Watch For
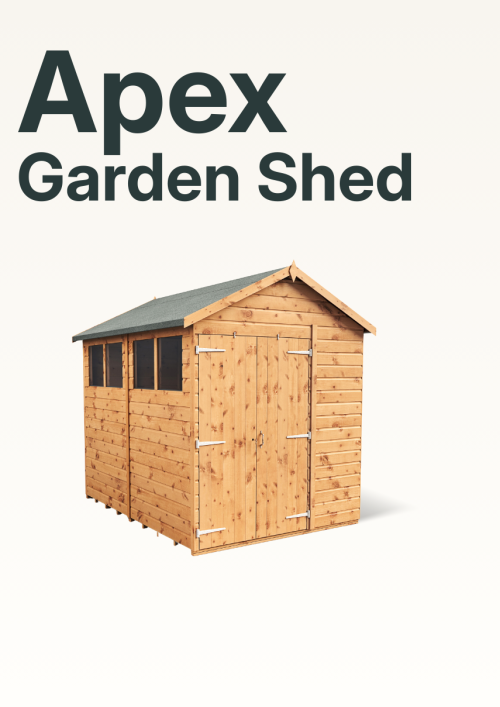
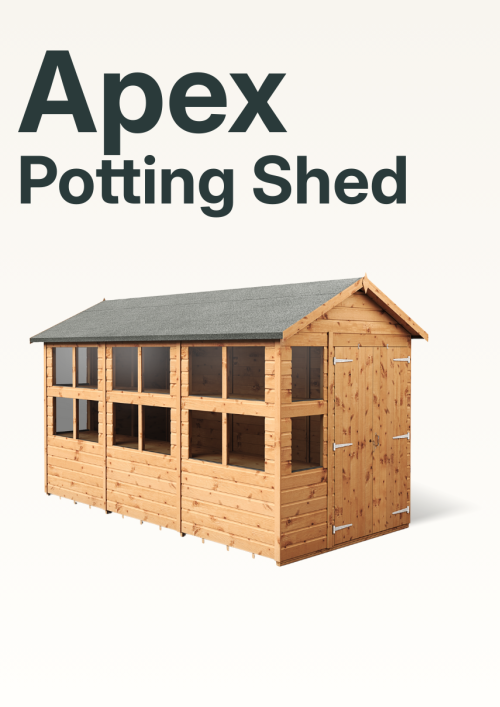
- Apex roofs: Start at the bottom and work your way up each side, overlapping as you go.
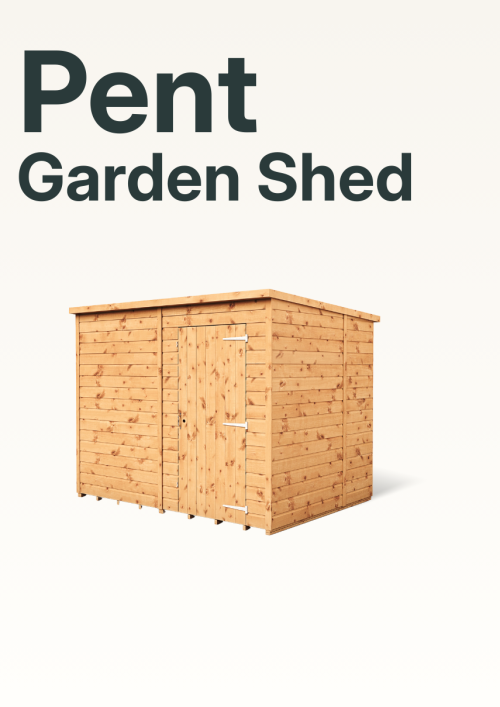
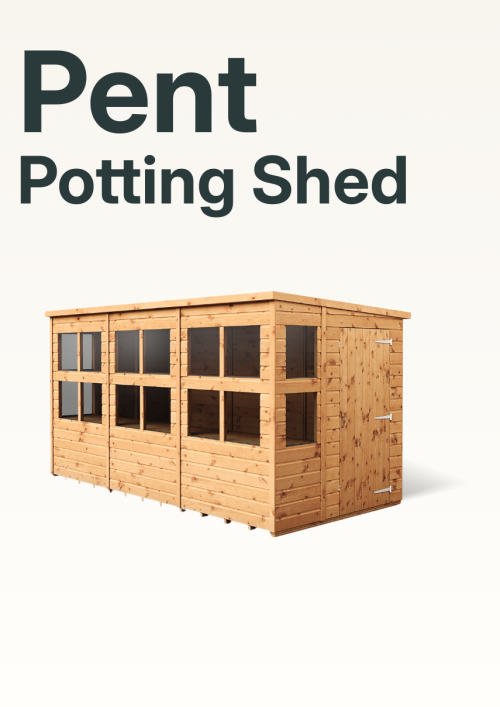
- Pent roofs: Begin at the lowest edge and work upwards, paying close attention to the sides.
Re-Felting an Old Shed
- Remove the old felt: Carefully peel it off and dispose of it properly.
- Inspect the roof: Look for rot or damage and repair it before laying new felt.
- Seal it properly: Take your time to ensure a watertight finish.
- Need new felt? Get in touch directly and we can supply some new felt.
Top Tips for a Job Well Done
- Plan your overlaps: Always work from the bottom up to keep water out.
- Invest in quality felt: It’ll last longer and save you hassle down the line.
- Take your time: Measure twice, cut once!
- Pick the right day: Dry weather is your best friend when felting.
Explore Our Sheds
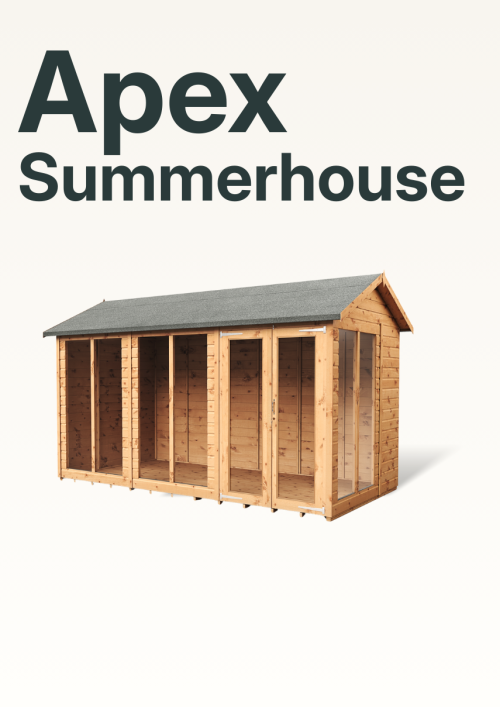
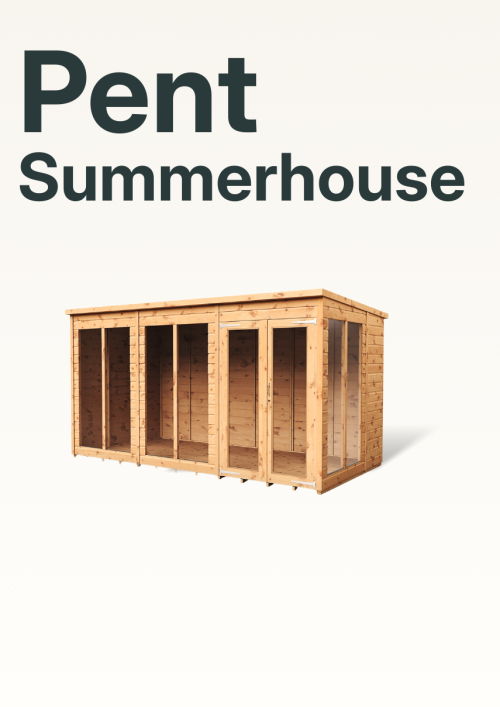
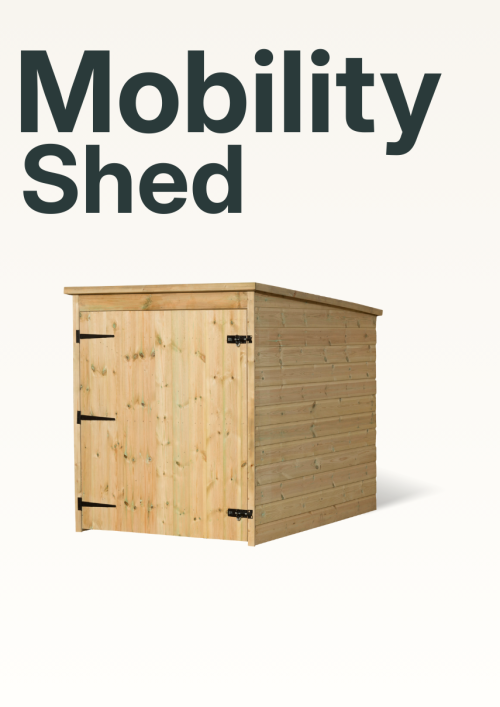
Looking for a new shed? We’ve got a wide range of apex and pent roof sheds, all made with high-quality timber and durable felt roofing. Whether you need something compact or spacious, we’ve got you covered.
Frequently Asked Questions
What’s the best way to attach felt to a shed roof?
Use galvanised nails or a staple gun, securing along the edges and overlaps. Add adhesive for extra hold if needed.
Should I use nails to secure felt?
Yes, galvanised nails are ideal, they won’t rust and they’ll keep the felt firmly in place.
Can I put new felt over old felt?
It’s best to remove the old felt, especially if it’s damaged. You’ll get a better seal and a longer-lasting result.
How do I finish the edges of a felted shed roof?
Trim any excess or fold it neatly over the edge, then secure it with nails or adhesive to keep it tidy and watertight.
We hope this guide helps you feel confident about felting your shed roof. If you’ve got any questions, don’t hesitate to get in touch, we’re always happy to help!